Step 1:
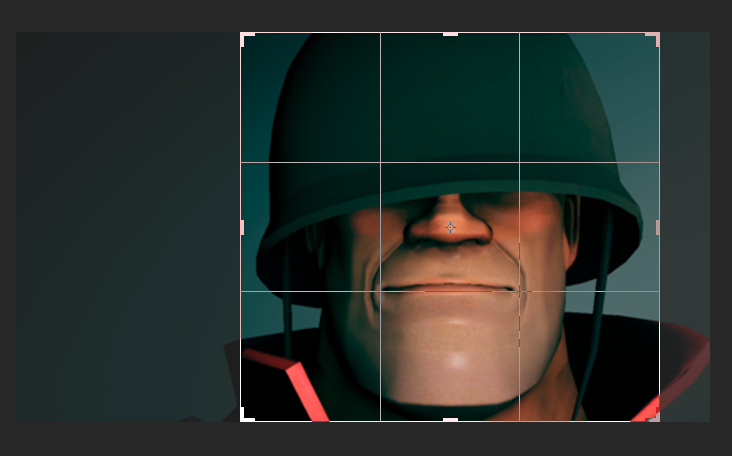
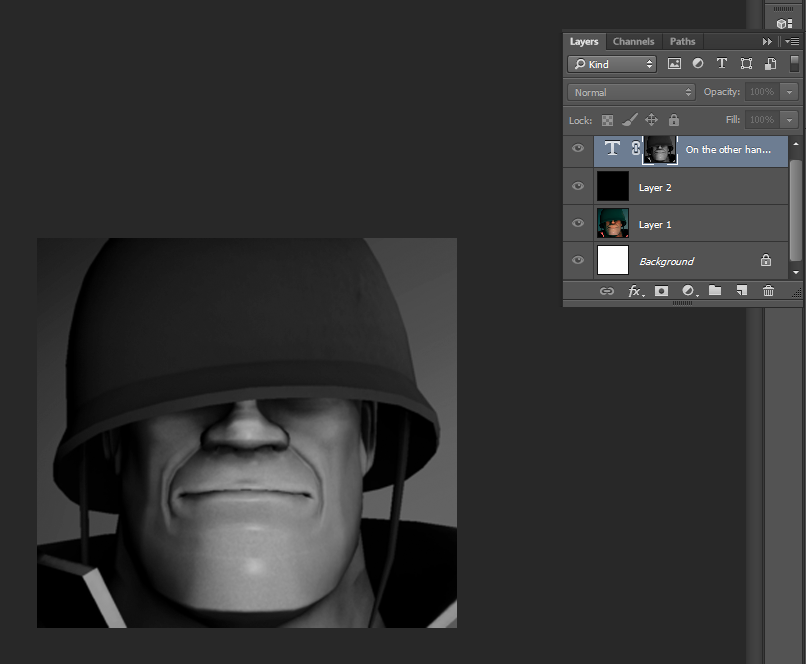
First step of making this all possible is to gather the image you want and to open it into photoshop for editing, next you want to crop your image so it focuses around the more.
Here you can see me cropping an image of the soldier so it focuses a lot more onto his face and doesn't have the empty background left anymore.
Step 2:
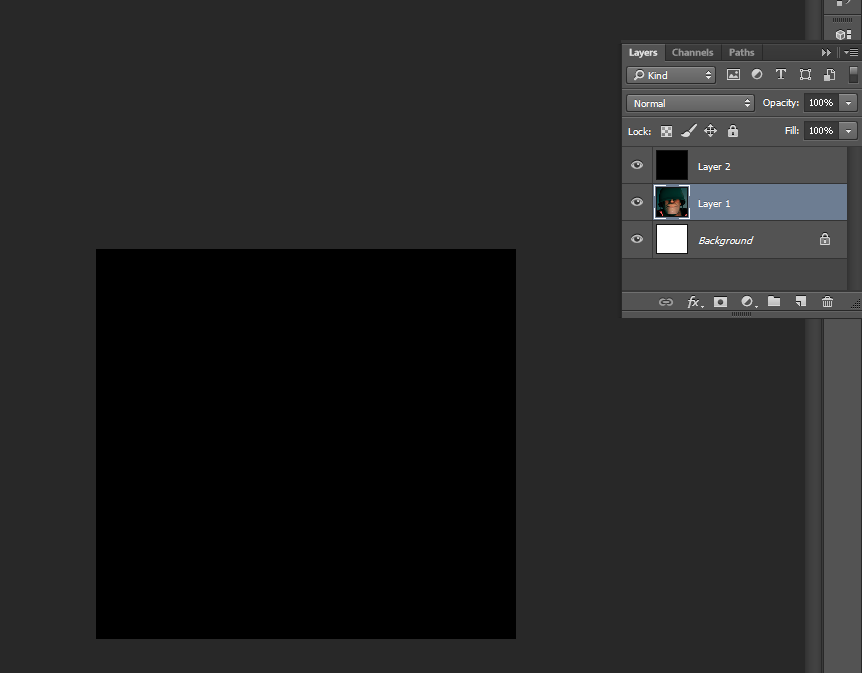
Create a new layer! After you've done that, make sure the layer is above the layer of your picture and fill it completely black by using the fill bucket tool and a solid black colour.
You can see both my picture layer and my solid black colour layer in the layers tab with the solid black on top of the image we want to turn into text.
Step 3:
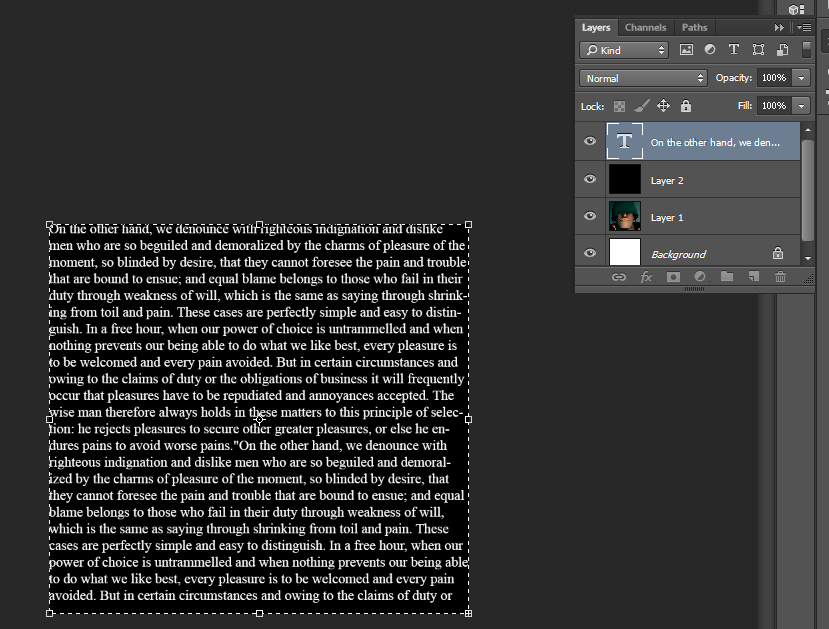
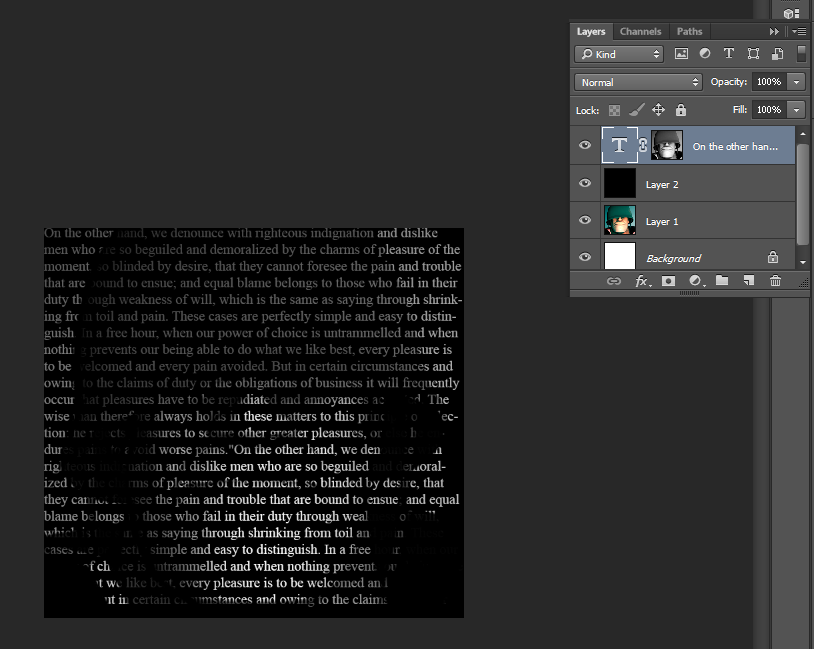
Select the type tool and drag a text box along the whole of your canvas, this will create a massive text box which you can fill completely with text. For this demonstration though, i will be using placeholder text.
This screenshot displays all my layers used so far and the placeholder text on top of the black canvas we created earlier. It's important to make sure your text fills the entire image you which to transform.
Step 4:
Copy the original photo or image you want to turn into text, you can do this by selecting the layer and pressing ctrl+A or CMD+A and then proceeding to copy it to your clipboard by pressing Ctrl+c or CMD+C.
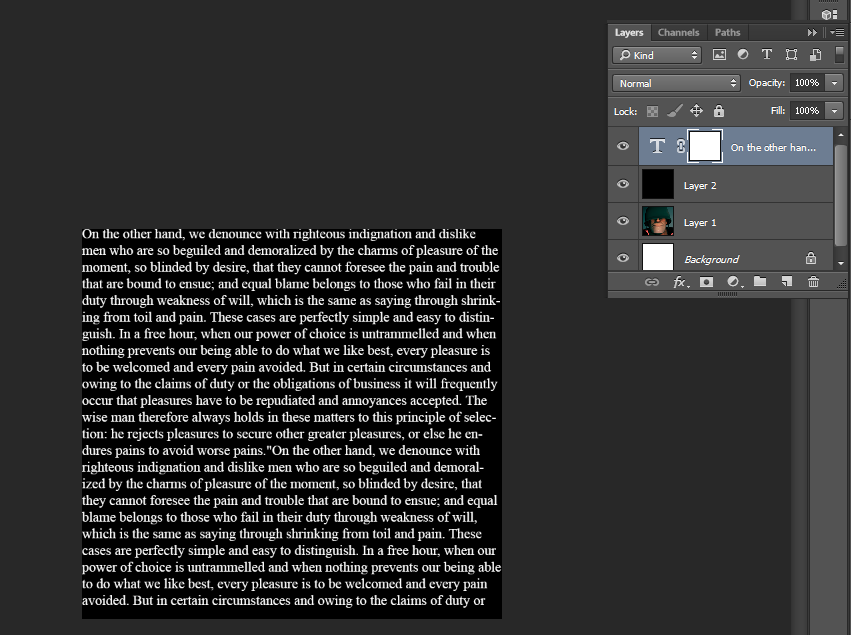
With your original image on your clipboard, create a mask on the text layer, this can be done by click the rectangle with a small hole cut out in the certain button with the text layer selected. You should get something like this.
Step 5:
Hold Alt or Option as you click onto the layer mask thumbnail, this allows us to see what is on the mask and also allow us to paste our image directly onto the layer mask. now press Ctrl+C or CMD+C to paste your image directly into the layer mask.
Because layer masks can only deal with black and white, as well as shades of grey the image you chose won't appeared coloured.
Step 5:
Now click back onto your text and off of the layer mask and you should see your text is now being masked by the image.
If you are unhappy with your result you can also make it brighter. This is done by selecting the text layer and pressing Ctrl+J or CMD+J which will duplicate the layer and overall make it look brighter and better if it is too dark currently.
 | |
| Finished product |
No comments:
Post a Comment