In the third part of showing the techinical Indesign skills i've learnt i will be covering how to paragraph format your columns and split up text boxes into writing columns by linking two text boxes together so when one is full, the text will transfer to the linked box and will continue to do so even if you want to resize the first box and make it smaller.
Adding placeholder text -
Adding placeholder text to your text boxes is extremely easy and allows you to see how your text boxes would work and what it'd be like when linked with another. It's a fast and easy way to fill up your text boxes with a lot of different works in a different language to get the gist and idea of what your text would be like. You can also adjust the leading, kerning and tracking of the placeholder text for a more indepth look and idea of how your work would be.
To get your placeholder text you must first draw your text box and choose how big or wide you like it, though it really does not matter for this demonstration.
Once you have your text box drawn, head over to the toolbar at the top of Indesign and click onto "Type". This will bring down a drop down menu where you are able to do a number of different things with your text and such.
The option we are interested in though is called "Fill with Placeholder Text", this does exactly what you think and your text box will now be added with placeholder text like below.
That's all there is to it, you now have placeholder text within in your text box which you can edit and play around with if you wish by using the kerning, tracking and leading sections on the type attributes toolbar.
Paragraph Formatting Columns -
Paragraph formatting your columns allows you, the user to choose how and where your text starts and continues from, nearly every word and typing program has this feature but for Indesign its a little more hidden and technical to find. This section is all about debunking how to format your columns text and paragraphs to how you like. Let's take a look at the tool bar for paragraph formatting.
To get to this you must click the small "¶" under the "A" on your text attributes bar, this brings up your paragraph formatting bar where you can change several different things about your text.
On the toolbar you can change where the text starts from as you type you allign your text to right, left or center. More options also allow you to allign your text towards or away from the spine and also justify the last line left or centre and also sort and create indents at specific lengths on your document.
 |
| First image alligned from the left, second image from the centre and last image from the right |
Here are a few examples of how placeholder text looks when alligned differently.
Linking text boxes -
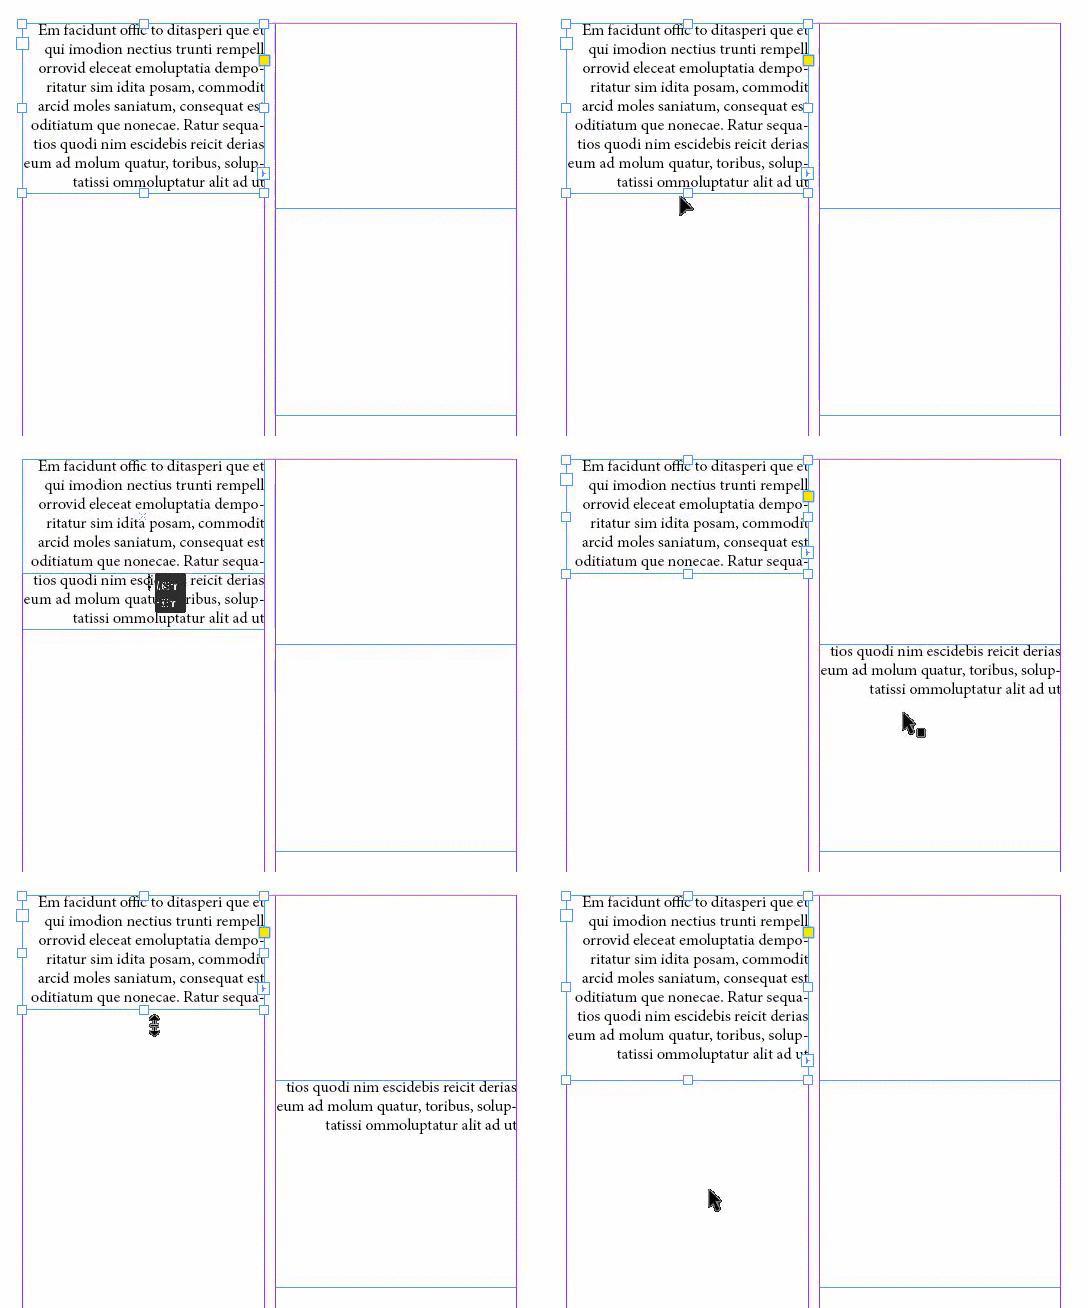
Linking text boxes allows the user to carry on writing without their text overflowing past the text box and also let text fill a different linked text box if the original text box is shortened and made smaller so where text would normally get cut off doesn't and isn't lost. For this i will be using my current text box filled with placeholder text and demonstrate that as i make the box smaller it will transfer to a linked text box and how to link text boxes together.
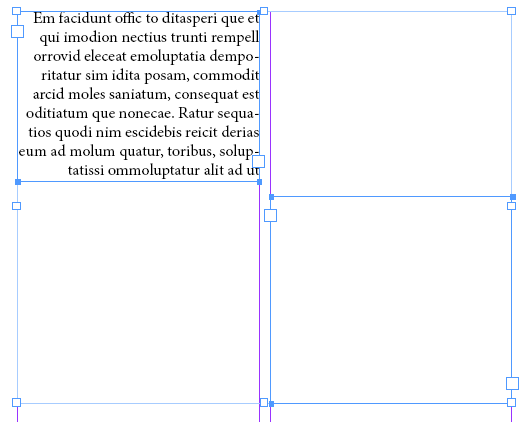
Starting off you should create another empty text box like i have. This will be the box we're going to link with our first box full of placeholder text.
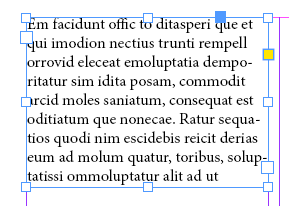
With these two text boxes you may notice two different boxes along the outside just above one of the four corners, clicking this
it will bring up a small version of your text which if you hover over
your text box you'll see a chain link appear. Clicking on the text box with this will now link your text boxes, so let's check out what we've done.
As you can see, the text now flows into the second when resized to a smaller state than the text inside your text box. And that is how you link text boxes together so text wont become cut off and can be transferred to another box if you feel you need to make one box smaller than the other.
Placing images:
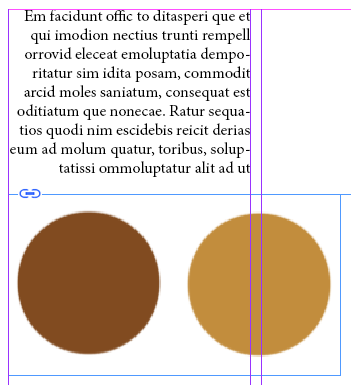
Placing images is just as easy as creating placeholder text for your publications and here is the fastest and easiest way of doing so click onto your document and press cmd+D or ctrl+D. This will prompt an interface where you can chose what image you want to add.
Once you have the image selected that you want, click okay and you'll be brought back to your Indesign document and where you can place it.
When placed feel free to place it and drag it where you like and that's it. You can now place and add images to your documents.
 |
| Finalized picture for adding images to Indesign |


No comments:
Post a Comment